
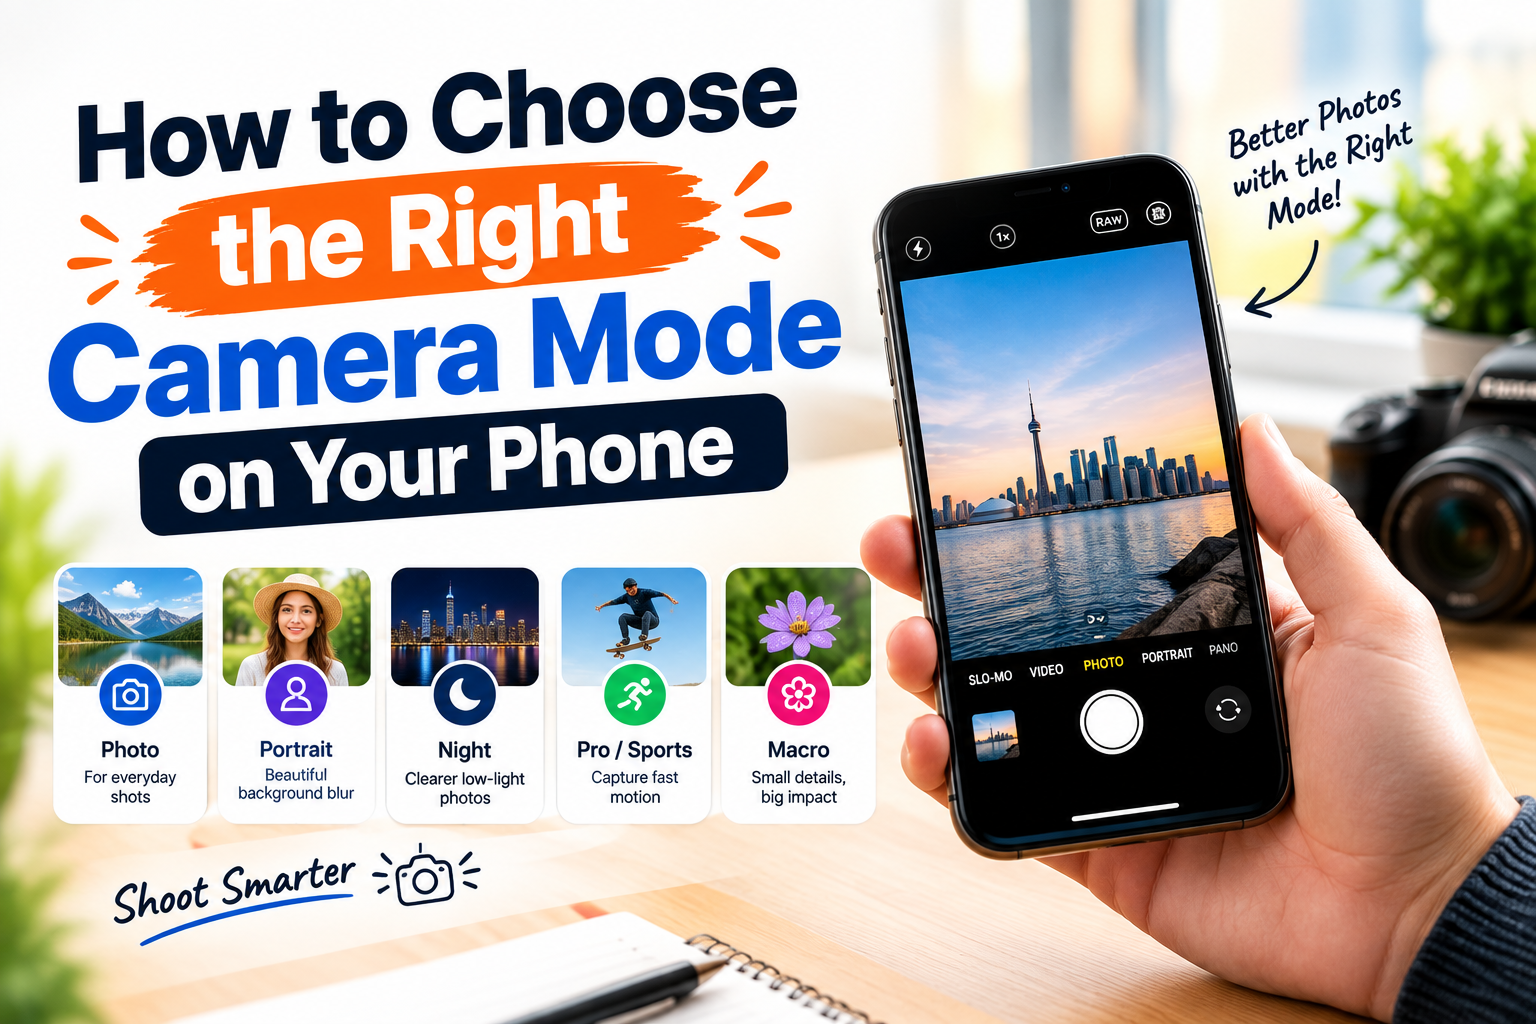
Taking a great photo is not about luck. It is about how to choose the right camera mode on your phone. Most phones today come with many modes. But most people never use them. They just tap the button and hope for the best. This guide will help you understand each camera mode on your phone and when to use it. You will learn why it matters and how it changes your photos. By the end, you will feel more confident with your phone camera.
Why Camera Modes Matter
Every camera mode does one job well. Modes brighten dark photos. Some modes freeze fast motion. Some modes blur the background for a soft look.
Using the wrong mode can ruin a good photo. Using the right mode can turn a simple photo into something special. That is why learning these modes is worth your time.
Many photographers agree on one thing. Good photos come from good choices, not expensive phones. A budget phone with the right mode can beat an expensive phone used the wrong way.
Common Camera Modes and When to Use Them
1. Auto Mode
Auto mode is the easiest mode. The phone picks the best settings for you. It looks at light, distance, and movement. Then it adjusts everything on its own.
Use auto mode when:
- You are in a hurry
- The lighting is normal
- You do not want to think about settings
Auto mode is a safe choice for daily photos. It works well for family photos, food pictures, and quick shots.
2. Portrait Mode
Portrait mode blurs the background. This makes the main subject stand out. It works best for photos of people or pets.
This mode uses smart software to find the subject. Then it softly blurs everything behind them. The result looks like a photo taken with a professional camera.
Use portrait mode when:
- You are taking a photo of one person
- You want a soft, blurred background
- Your subject is close to the camera
A Quick Tip for Better Portraits
Stand about three to six feet away from your subject. This distance helps the phone blur the background more clearly. Too close or too far can confuse the camera.
3. Night Mode
Night mode helps in low light. It takes several photos quickly and blends them. This makes the final photo brighter and clearer.
Many phone users trust night mode for evening walks, candle-lit dinners, or city lights. It also helps reduce blur when your hands shake slightly.
Use night mode when:
- The room is dark
- You are outside after sunset
- You want clear details without using flash
4. Panorama Mode
Panorama mode captures wide scenes. You move your phone slowly from one side to the other. The phone stitches the images together into one long photo.
This mode is perfect for:
- Mountains and landscapes
- Large group photos
- Wide city views
Why Panorama Works So Well
The phone takes many small photos in a row. Then it blends them smoothly. This gives you a photo much wider than a normal shot.
5. Slow Motion and Burst Mode
Slow motion mode captures fast movement in detail. It is great for sports, pets running, or water splashing.
Burst mode takes many photos in one second. This helps you catch the perfect moment, especially with kids or fast action.
Use these modes when:
- Something is moving fast
- You want to catch a perfect moment
- You plan to pick the best shot later
How to Pick the Right Mode Quickly
Choosing a mode does not need to be hard. Ask yourself three simple questions:
- Is it bright or dark?
- Is the subject moving or still?
- Do you want a wide scene or a close subject?
Your answers will guide you to the best mode. With practice, this becomes automatic.
Some newer camera apps, like OncePik, try to simplify this choice even more. Apps like this study the scene and suggest the best mode before you even tap the shutter. This can be helpful for beginners who are still learning.
Building Confidence With Practice
Photography skills grow with practice, not luck. The more you experiment with different modes, the more natural it becomes. Try using portrait mode for close-up photos during your next outing. Notice how the background softens beautifully.
Also, try comparing auto mode and night mode in a dim room. You will quickly see the difference in brightness and clarity.
Real growth comes from real practice. Trusted photography experts often say the same thing: understanding your tools matters more than owning expensive gear.
Small Habits That Improve Every Photo
Along with picking the right mode, small habits make a big difference.
Clean Your Lens First
A dirty lens can ruin even the best mode. Wipe it gently with a soft cloth before shooting.
Hold Your Phone Steady
Shaky hands cause blurry photos. Use both hands or lean on a steady surface.
Use Natural Light When Possible
Natural light often looks better than flash. Try to shoot near a window or outdoors.
If you want more control over your shots, learning how to adjust exposure manually can also improve your results over time.
Final Thoughts
Choosing the right camera mode is not about being a professional. It is about understanding your phone a little better. Once you know what each mode does, you can capture better memories every day.
Try one new mode this week. Compare the results. You will notice the difference quickly, and your photos will look more polished with very little extra effort.
Frequently Asked Questions
1. What is the easiest camera mode to use?
Auto mode is the easiest. It adjusts settings for you automatically.
2. Which mode is best for photos of people?
Portrait mode works best. It blurs the background and highlights the person.
3. Why do my night photos look blurry?
Shaky hands or the wrong mode can cause blur. Try night mode and hold your phone steady.
4. Can I use panorama mode indoors?
Yes, but it works best in wide, open spaces like landscapes or large rooms.
5. Do camera apps like OncePik really help?
Yes, they can guide beginners by suggesting the best mode for each scene.