Most photos fail not because of the camera, but because of inconsistent editing. You shoot something good, then struggle for hours in Lightroom trying to get that “cinematic look.” The result is usually over-edited, flat, or mismatched across your feed.
That is exactly where cinematic lightroom presets solve the problem. They give you one-click professional color grading that turns normal photos into film-style visuals without advanced editing skills.
If you want faster editing, consistent aesthetic, and social-media-ready visuals, cinematic presets are not optional anymore. They are a workflow upgrade.
What Are Cinematic Lightroom Presets?
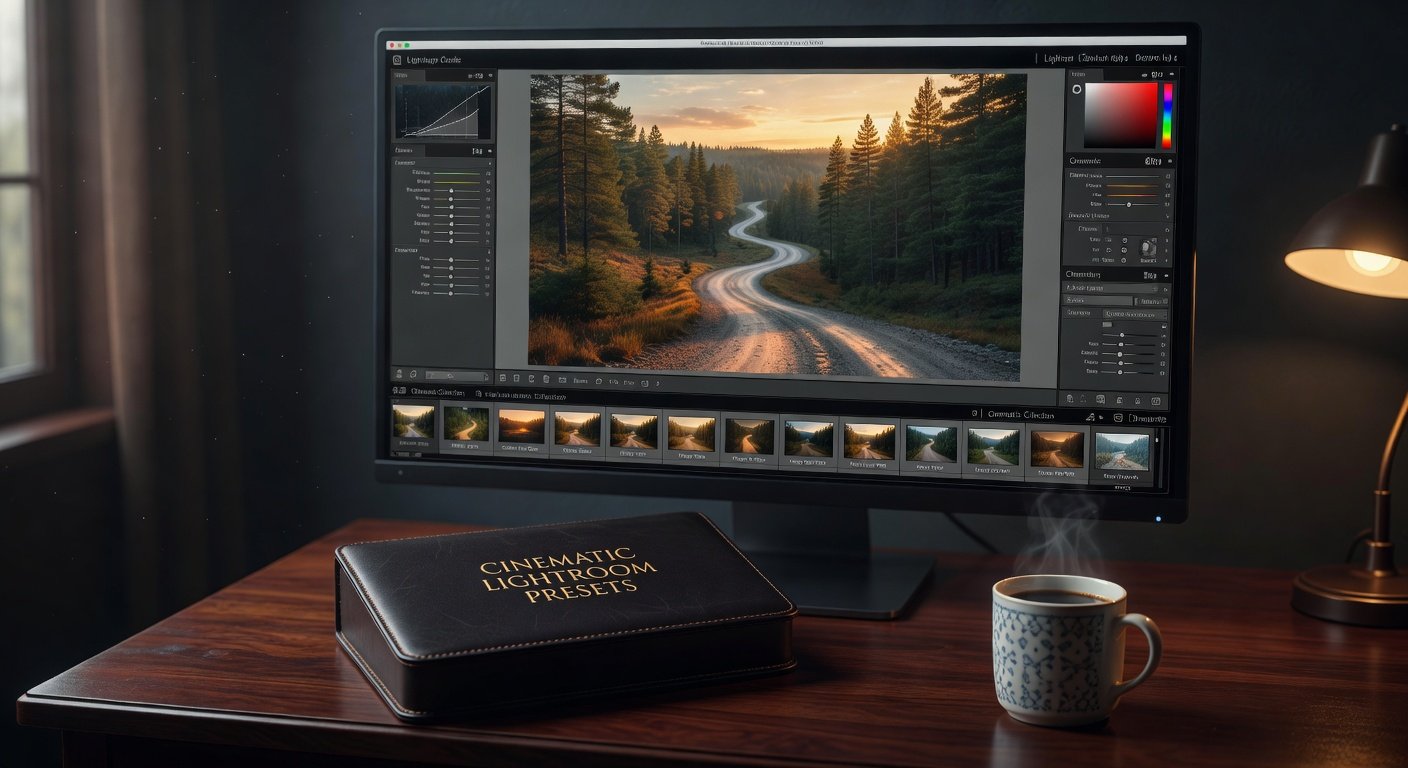
Cinematic lightroom presets are pre-made editing settings used in Adobe Lightroom that apply a film-style color grade to your photos instantly.
In simple words:
They are “editing filters” that make your photos look like movie scenes.
They usually adjust:
- Colors (teal, orange, muted tones)
- Contrast and shadows
- Highlights and tone curves
- Grain and softness
- Skin tones for natural cinematic feel
They are beginner-friendly. You do not need to understand color theory or advanced editing. You just apply the preset and adjust exposure if needed.
Related terms you will often see:
- cinematic filter lightroom
- Lightroom cinematic look preset
- cinematic presets
- cinematic lightroom presets
All of these refer to the same concept: fast film-style editing in Lightroom.
Why Cinematic Lightroom Presets Matter (User Pain Points)
Let’s be honest. Most users struggle with:
- Spending 30–60 minutes per photo on editing
- Inconsistent Instagram feed aesthetics
- Lack of professional color grading knowledge
- Over-editing that destroys skin tones
- Not matching modern “film look” trends
Cinematic lightroom presets fix all of this.
Real-life use cases:
- Instagram influencers maintaining aesthetic feeds
- YouTubers creating thumbnail consistency
- Wedding photographers editing 500+ photos quickly
- Travel bloggers making location photos cinematic
- Small business owners improving product visuals
The real value is not editing style. It is saving time and increasing visual quality instantly.
Key Features of Cinematic Lightroom Presets
Instead of listing technical tools, focus on what actually matters:
- One-click professional film grading
- Consistent Instagram aesthetic
- Smooth skin tone correction
- Teal-orange cinematic color balance
- Soft contrast for emotional visuals
- Built-in grain for film texture
- Mobile and desktop compatibility
- Non-destructive editing workflow
Benefits:
- Saves hours of manual editing
- Maintains brand consistency
- Improves engagement on social media
- Makes beginner photos look professional
- Speeds up content production workflow
Types of Cinematic Lightroom Presets
Not all presets are the same. Different styles create different moods.
1. Teal & Orange Cinematic Presets
- Most popular Hollywood-style look
- Strong contrast between warm skin and cool shadows
- Perfect for travel and portraits
2. Moody Cinematic Presets
- Dark tones and deep shadows
- Emotional storytelling vibe
- Used in street photography
3. Bright Film Presets
- Soft highlights and airy tones
- Ideal for weddings and lifestyle photography
4. Vintage Film Presets
- Grain-heavy nostalgic look
- Inspired by analog film cameras
5. Clean Modern Cinematic Presets
- Minimal color shift
- Natural yet polished results
- Best for brands and e-commerce
Comparison Table: Cinematic Lightroom Presets
| Feature | Teal & Orange | Moody Cinematic | Bright Film |
|---|---|---|---|
| Color Tone | Warm/Cool contrast | Dark & muted | Light & soft |
| Best For | Travel, portraits | Street, storytelling | Weddings, lifestyle |
| Editing Style | High contrast | Low exposure | High exposure |
| Emotion | Dramatic | Serious | Happy |
| Social Media Impact | Very high | High | Medium-high |
Pros and Cons of Cinematic Lightroom Presets
| Pros | Cons |
|---|---|
| Saves editing time | May require minor adjustments |
| Professional look instantly | Not one-size-fits-all lighting |
| Beginner-friendly | Overuse can look repetitive |
| Improves branding consistency | Quality depends on preset creator |
| Works on mobile and desktop | Some presets are paid only |
Honest truth: presets are not magic. They work best when your original photo is decent. Bad lighting cannot be fully fixed.
How to Choose the Right Cinematic Lightroom Presets
Do not just download random packs. Choose based on your goal.
Step-by-step guide:
- Identify your content type
- Portraits, travel, product, or social media
- Choose your mood
- Moody, bright, vintage, or modern
- Check compatibility
- Lightroom Mobile or Desktop
- Test before buying
- Look for free sample presets
- Check before-after examples
- Real photos, not heavily staged ones
- Avoid over-edited packs
- If skin tones look unnatural, skip it
Best Use Cases and Who Should Use Cinematic Lightroom Presets
Content Creators (Instagram, TikTok, YouTube)
- Age: 18–34
- Urban audience (US, Europe, Asia)
- Wants aesthetic consistency
- Needs fast editing for daily posts
- Uses presets as a brand identity tool
Wedding & Portrait Photographers
- Age: 25–45
- Event-based income
- Needs consistent delivery quality
- Saves hours per shoot
- Uses premium preset bundles
Film & Cinematic Enthusiasts
- Age: 20–40
- Inspired by movies and storytelling
- Loves teal-orange and vintage grain
- Shares edits on forums and social platforms
E-commerce & Brand Sellers
- Age: 25–45
- Online-first businesses (Shopify, Etsy)
- Needs polished product visuals
- Cinematic look increases perceived brand value
- Focused on ROI, prefers preset bundles
Why Choose Oncepik Cinematic Lightroom Solution
Most presets fail because they are generic. They do not adapt to lighting conditions or real-world shooting environments.
Oncepik cinematic lightroom presets focus on:
- Real-world tested color grading
- Multiple lighting variations
- Consistent brand-ready output
- Mobile + desktop optimization
- Designed for creators who need speed + quality
The goal is simple: stop wasting time fixing bad edits and start producing consistent cinematic visuals at scale.
Common Mistakes to Avoid
Most beginners mess this up:
- Using presets on low-quality, dark images
- Not adjusting exposure after applying preset
- Overusing the same preset for every photo
- Ignoring white balance before editing
- Thinking presets replace photography skills
- Buying too many packs instead of mastering one style
Reality check: presets enhance photography, they do not replace it.
Conclusion (Action Driven)
Cinematic lightroom presets are not just filters. They are a workflow system for creators who want speed, consistency, and professional-level visuals without spending hours in Lightroom.
If you are serious about content quality, you need:
- A consistent cinematic style
- A fast editing workflow
- A repeatable system for branding
Start with one preset pack. Test it on different lighting conditions. Then build your own consistent aesthetic.
Do not overthink it. Execution matters more than collection.
FAQs About Cinematic Lightroom Presets
1. Are cinematic Lightroom presets worth it?
Yes, if you want fast editing and consistent visuals. They save time and improve quality.
2. Do presets work on mobile?
Yes. Lightroom Mobile supports most preset formats.
3. Why do my presets look different on each photo?
Lighting and exposure differences affect results. You must adjust settings slightly.
4. Can beginners use cinematic presets?
Yes. They are designed for beginners with no editing experience.
5. Are free presets good enough?
Some are okay, but premium presets usually offer better color grading and consistency.
6. Do presets improve Instagram engagement?
Indirectly yes. Better visuals usually lead to higher engagement.
7. What is the best preset style for beginners?
Clean cinematic or teal-orange presets are the easiest starting point.