Mobile photography has changed the way we take pictures. Today, almost everyone has a smartphone in their pocket. You do not need a big camera to take great photos. With the right tricks, your phone can capture beautiful and sharp images anywhere. Whether you are at home, outside, or traveling, you can create amazing photos with simple steps. If you are just starting, learning from oncepik can make things easier. It helps beginners understand how to use simple ideas to take better photos. Many people improve their skills by following easy tips and practicing daily. With oncepik, you can learn how light, angles, and timing can change your photos. Keep exploring and practicing with Oncepik, and you will see your photos improve step by step.
Why Mobile Photography Is So Popular
Mobile photography is easy and fast. You always have your phone with you. You can take a photo anytime without setting up heavy gear. Phones today also have powerful cameras that can capture clear, colorful images.
Another reason is sharing. You can take a photo and post it online in seconds. This makes mobile photography fun and useful for daily life. From food pictures to travel shots, everything can be captured easily.
Trick 1 – Clean Your Camera Lens
Small Step, Big Difference
This is the simplest trick, but many people forget it. Your phone stays in your pocket or bag, so the lens can get dirty. Dust or fingerprints can make your photos look blurry.
Before taking a photo, gently clean the lens with a soft cloth. This quick step can instantly improve image quality.
Trick 2 – Use Natural Light
Light Is Everything
Good lighting can make or break your photo. Natural light is the best choice for beginners. Try to take photos near a window or outside.
Best Time for Photos
-
Morning light is soft and warm
-
Evening light gives a golden glow
-
Avoid strong sunlight at noon
Simple Tip
Stand facing the light, not with your back to it. This helps your subject look clear and bright.
Trick 3 – Focus on Your Subject
Tap to Focus
Most phones let you tap the screen to focus. Always tap on your subject before taking a photo. This makes sure the main part of your image is sharp.
Keep It Simple
Do not include too many things in one photo. A clear subject makes your image look clean and professional.
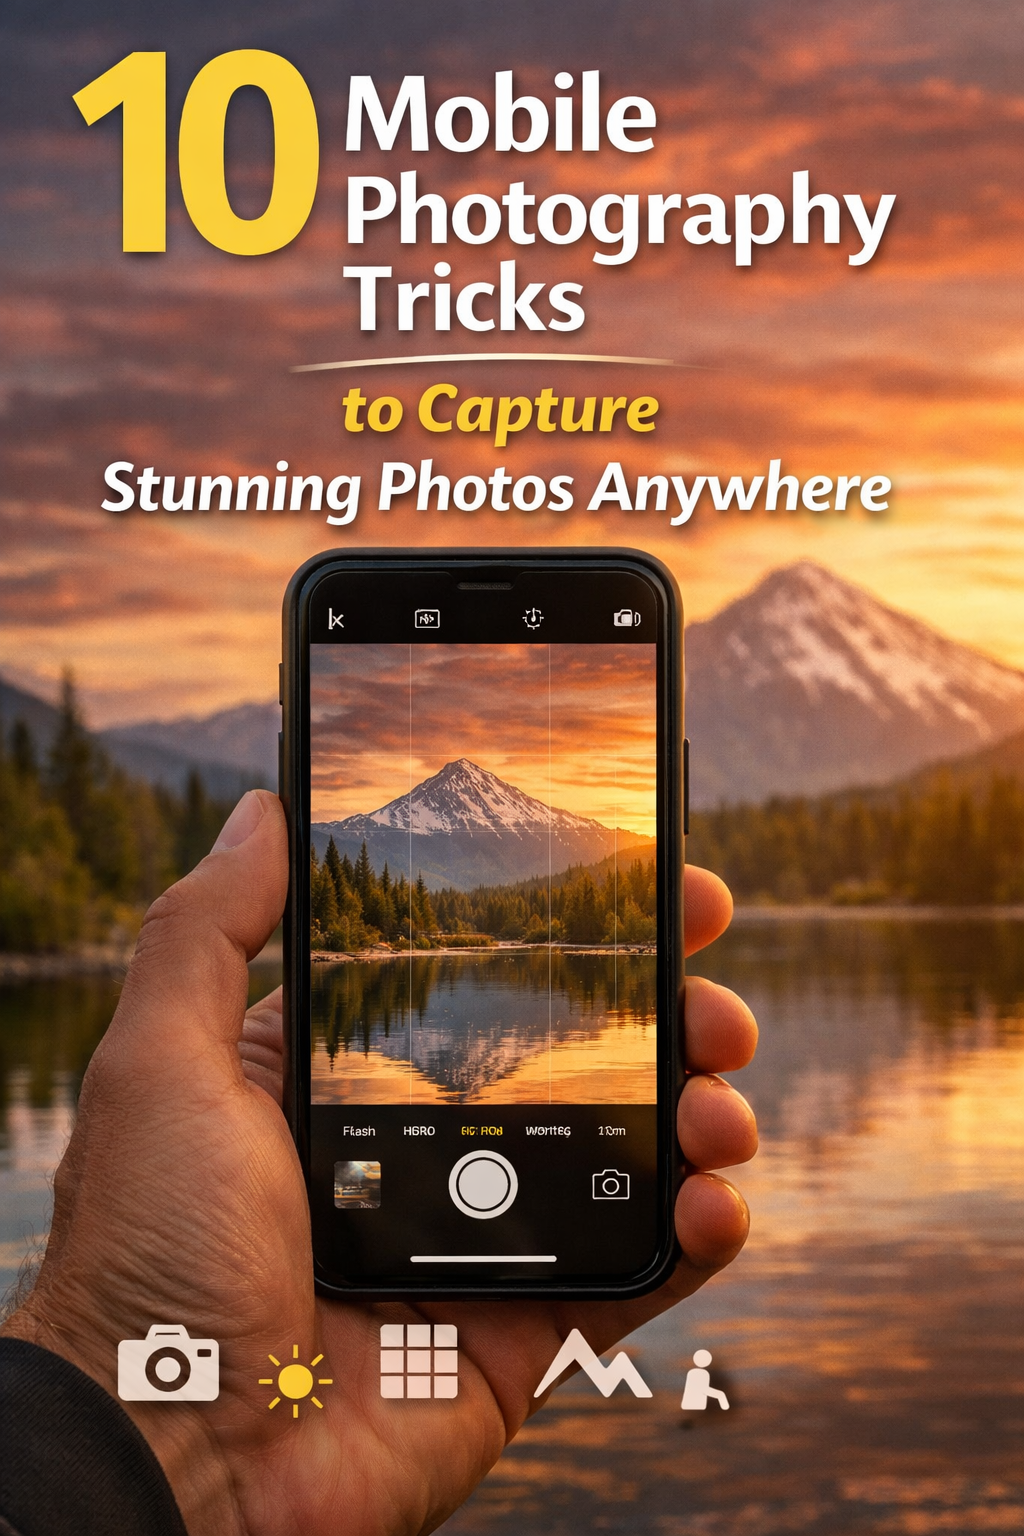
Trick 4 – Use the Rule of Thirds
Easy Composition Trick
Turn on the grid lines in your camera settings. This divides your screen into small boxes.
How to Use It
Place your subject on the lines or at their intersections. This makes your photo more balanced and pleasing to the eye.
Trick 5 – Keep Your Hands Steady
Avoid Blurry Photos
Shaky hands can ruin a good shot. Hold your phone with both hands to keep it steady.
Extra Support
-
Lean against a wall
-
Use a table or flat surface
-
Hold your breath for a second before clicking
These small tricks help you capture sharp images.
Trick 6 – Try Different Angles
Change Your View
Most people take photos at eye level. But changing your angle can make your photo stand out.
Angle Ideas
-
Shoot from above for food shots
-
Go low for dramatic views
-
Move closer for details
Trying new angles makes your photos more creative and interesting.
Trick 7 – Use Portrait Mode
Blur the Background
Portrait mode helps focus on the subject and blur the background. This effect makes your photo look more professional.
When to Use It
-
People photos
-
Close-up shots
-
Objects with simple backgrounds
It adds depth and makes your subject pop.
Trick 8 – Avoid Using Zoom
Why Zoom Is Not Good
Digital zoom reduces image quality. Your photo may look grainy or unclear.
Better Option
Instead of zooming, move closer to your subject. This keeps your image sharp and detailed.
Trick 9 – Edit Your Photos Simply
Improve, Not Overdo
Editing can improve your photo, but too much can ruin it.
Basic Edits
-
Adjust brightness
-
Fix contrast
-
Improve colors
-
Crop unwanted parts
Keep edits simple and natural. The goal is to enhance, not change everything.
Trick 10 – Practice Every Day
Practice Makes Perfect
The more you take photos, the better you get. Try different styles, lighting, and angles daily.
Learn from Mistakes
Check your photos and see what can be improved. This helps you grow faster.
Common Mistakes to Avoid
Too Many Filters
Filters can be fun, but using too many makes photos look fake. Keep it natural.
Bad Lighting
Avoid dark or harsh light. Always look for soft and even light.
Messy Background
A busy background can distract from your subject. Keep it clean and simple.
Real-Life Tips That Work
Take Multiple Shots
Do not rely on one photo. Take many shots and choose the best one later.
Watch Your Background
Always check what is behind your subject. Small details can affect the whole image.
Be Patient
Good photos take time. Wait for the right moment, light, and angle.
Build Your Own Style
Find What You Like
Everyone sees things differently. Try different ideas and find your style.
Stay Consistent
Once you find your style, practice it often. This helps build your identity as a photographer.
Conclusion
Mobile photography is simple, fun, and powerful. You do not need expensive tools to take great photos. By using these 10 tricks, you can improve your skills and capture stunning images anywhere.
Start with small steps. Clean your lens, use natural light, and keep your shots simple. Try new angles, practice daily, and learn from your mistakes. Over time, your photos will become better and more creative. Keep exploring, stay patient, and enjoy the journey of capturing moments with your phone.
FAQs
Q1: Can I take good photos with any phone?
Yes, any smartphone can take good photos if you use proper light and simple tricks.
Q2: What is the best time for mobile photography?
Morning and evening are best because the light is soft and natural.
Q3: Should I always use filters?
No, use filters lightly. Too many filters can make photos look unnatural.
Q4: How can I avoid blurry photos?
Hold your phone steady and use both hands while taking pictures.
Q5: Do I need editing apps?
Basic editing helps, but keep it simple. Most phones have built-in tools that are enough.